Common Dashcam Setup Mistakes That Ruin Your Footage
A dashcam is only as reliable as its installation. Drivers who skip key steps in power wiring, camera placement, memory card selection, and settings configuration often discover their device failed silently, right before they needed the footage most. Brands like Nextbase, Vantrue, and BlackVue build capable hardware, but even the best camera produces useless recordings when the setup is wrong. This guide covers the most damaging common dashcam setup mistakes so you can fix them before they cost you.
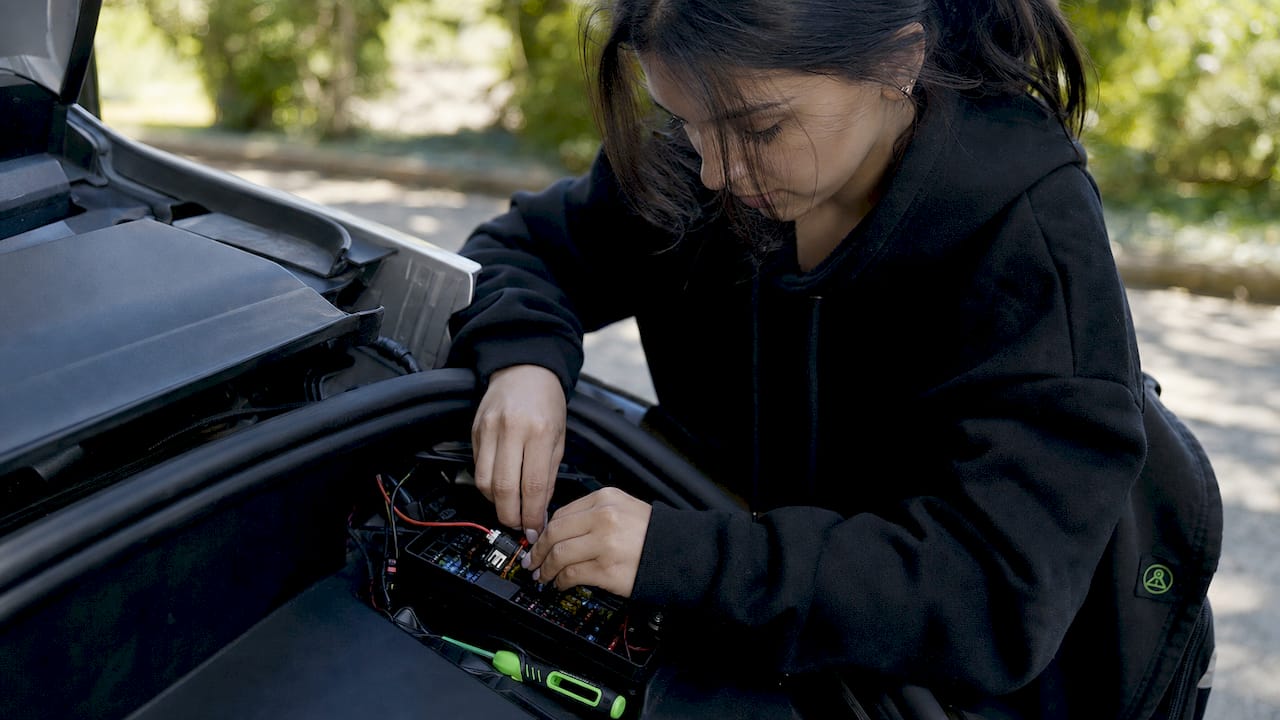
1. Choosing the wrong power source
Plugging your dashcam into a 12V cigarette lighter socket is the most common starting point, and the most limiting one. A plug-and-play setup takes about 10 minutes but cuts power the moment you turn off the ignition, which means no parking mode protection. A hardwire kit costs $20 to $40 and connects directly to your fuse box, supplying constant low-voltage power so the camera stays active while parked.
Electric vehicle owners face an additional layer of complexity. Many EVs use power management systems that cut accessory circuits during charging or sleep modes, which can interrupt dashcam recording unexpectedly. Verify your EV’s fuse layout before hardwiring and use a voltage cutoff module to prevent battery drain.
Pro Tip: Use a fuse tap rated for your vehicle’s fuse box type (ATO, mini, or micro2) and connect to an always-on circuit, not an ignition-switched one, to maintain parking mode recording.
2. Poor cable routing and management
Loose power cables obstruct the driver’s view and create an entanglement risk during sudden braking. Beyond the safety issue, cables that vibrate against the windshield or A-pillar produce interference in footage and can disconnect mid-drive, causing recording gaps at the worst possible moment.
Route cables along the headliner and down the A-pillar, tucking them behind the rubber door seal and trim panels with a nylon pry tool. Secure any excess with zip ties or adhesive cable clips. Never leave a loop of cable hanging near the steering column or pedal area.
- Route headliner cables toward the A-pillar first, then down
- Tuck cable behind door seal rubber using a plastic trim tool
- Secure with zip ties every 6 to 8 inches along the route
- Keep all cable runs away from the steering column and pedals
3. Routing cables over airbags
Routing cables over airbags is one of the most dangerous dashcam installation errors a driver can make. The A-pillar houses side-curtain airbags, and a cable routed across the deployment path becomes a projectile during a crash. This mistake is common because the A-pillar is the natural cable path from the windshield to the floor.
The correct method is to route the cable behind the factory wiring harness inside the A-pillar trim, not over the outer surface. Remove the trim panel carefully, tuck the dashcam cable behind the existing harness, and reinstall the panel. This keeps the cable contained and away from the airbag deployment zone entirely.
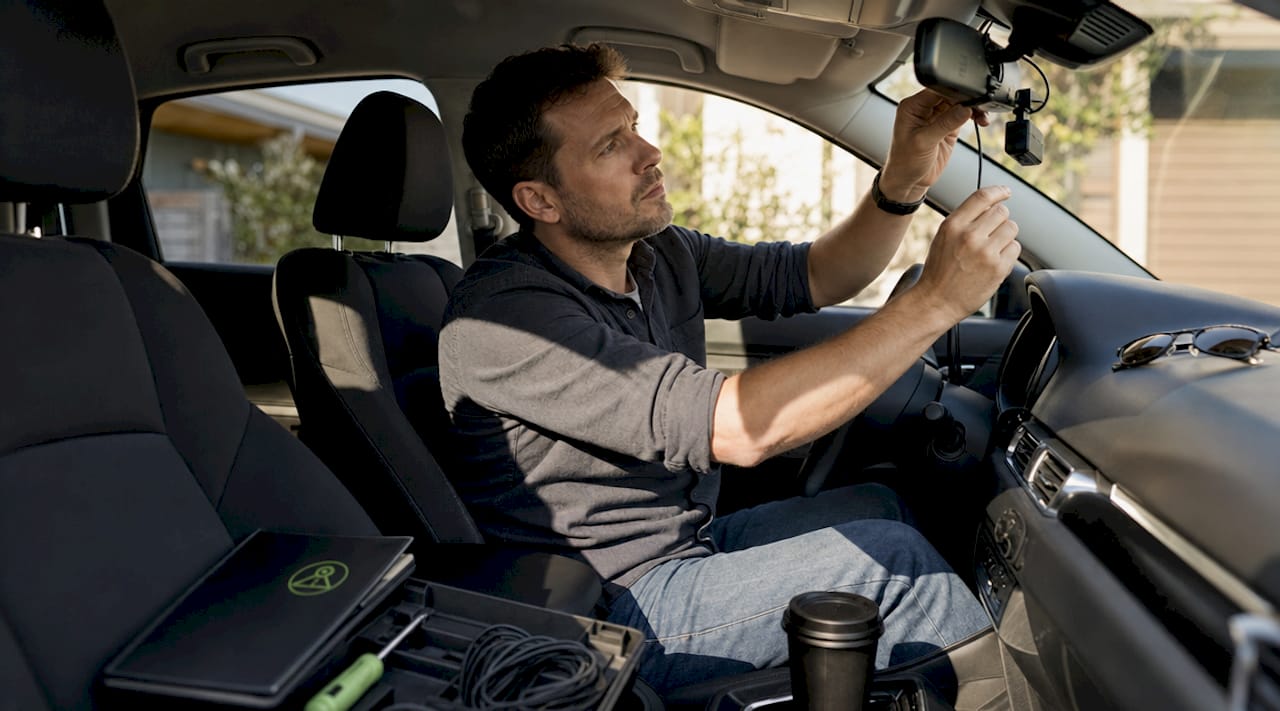
4. Incorrect camera placement and mounting angle
Mounting position directly determines what your dashcam captures and how usable that footage is in a legal or insurance context. The correct position is behind or adjacent to the rearview mirror, within the area swept by your windshield wipers. Cameras mounted outside wiper coverage collect rain and dirt that obscures the lens during the conditions when you need clear footage most.
Avoid mounting in areas with heavy tinting or the fritted black border at the windshield edge. Both reduce image quality and can interfere with GPS signal. The camera angle should balance approximately 60% sky and 40% road in the frame. Too much sky causes the road to appear underexposed; too much road cuts off context above the horizon.
Pro Tip: Before finalizing the mount, use the camera’s live view on your phone or built-in screen to check framing. Confirm the horizon is level and that license plates on vehicles ahead are legible at a simulated following distance.
5. Ignoring dashcam placement issues near sensors
Modern vehicles pack the windshield area with ADAS sensors, rain sensors, and forward-facing cameras for lane-keep assist and automatic emergency braking. Mounting your dashcam directly in front of or adjacent to these sensors can block their field of view or cause calibration errors. On vehicles like those equipped with Subaru EyeSight or Tesla Autopilot cameras, this is a real and documented risk.
Check your vehicle’s owner manual for sensor locations before choosing a mount position. Most manufacturers mark a recommended dashcam mounting zone in the manual or on the windshield itself. Staying within that zone protects both your dashcam footage and your vehicle’s safety systems.
6. Using the wrong memory card
Standard SD cards fail in dashcam applications because they are not designed for the continuous read-write cycles that loop recording demands. A regular card may last weeks before developing corrupted sectors that cause silent recording failures. The dashcam appears to be recording, but the files are unreadable or simply not being saved.
High-endurance microSD cards from brands like Samsung (PRO Endurance), SanDisk (High Endurance), and Kingston (High Endurance) are built specifically for this workload. Use a card rated at 128GB or larger to extend the loop recording window before overwriting begins. Smaller cards overwrite footage faster, which increases the risk of losing an incident clip before you can save it manually.
- Choose cards labeled “high endurance” or “dashcam optimized”
- Minimum recommended size: 128GB for most dashcam setups
- Format the card inside the dashcam (not on a computer) every 30 days
- Replace cards every 12 to 18 months regardless of apparent condition
7. Skipping routine SD card formatting
Monthly in-camera formatting is one of the most overlooked dashcam setup tips, and skipping it is a leading cause of silent recording failure. Formatting inside the dashcam rewrites the file system in the format the device expects, clearing fragmentation and corruption that builds up over weeks of continuous loop recording.
Formatting on a computer uses a different file system structure that can cause compatibility issues with the dashcam’s firmware. Always use the dashcam’s own format function, found in the settings menu. This takes under a minute and prevents the majority of storage-related recording problems.
8. Wrong video settings for your conditions
Optimal video settings for 4K recording require a bitrate of 40 to 60 Mbps. Lower bitrates produce compression artifacts that make license plates unreadable, especially at distance or in motion. This single setting determines whether your footage holds up as evidence.
- Set bitrate to 40 to 60 Mbps for 4K; 20 to 30 Mbps for 1080p
- Use 30fps at night for better low-light exposure per frame
- Set exposure compensation to -0.5 during the day and -1.0 at night for license plate clarity
- Enable HDR or WDR mode to handle high-contrast scenes like tunnels and bright intersections
- Set clip length to 3 minutes to balance file manageability with incident coverage
For detailed guidance on video quality settings, matching bitrate and frame rate to your specific camera model makes a measurable difference in footage usability.
Pro Tip: Enable loop recording before your first drive. Without it, the dashcam stops recording when storage fills up and gives you no protection until you manually clear space.
9. Forgetting to remove the lens protective film
Leaving the protective film on the dashcam lens is a mistake that produces permanently hazy footage. No resolution setting, bitrate adjustment, or firmware update can correct the blur caused by that thin plastic layer. The haze is especially visible at night, where it scatters light sources and makes footage nearly unusable.
This mistake is more common than it sounds. The film is often clear or lightly tinted and easy to miss during installation. Check the lens surface before mounting and peel off any film. While you are at it, clean the inside of the windshield directly behind the camera with an alcohol wipe. Interior glass haze from outgassing vinyl and cleaning products creates the same blurring effect.
10. Never verifying footage after installation
Installing a dashcam and never checking the recordings is a dashcam recording problem that defeats the entire purpose of the device. Firmware bugs, loose mounts, storage failures, and incorrect settings all produce footage that looks fine from the outside but is corrupted, misfocused, or missing entirely.
Check your recordings at least once a month. Play back a clip and confirm the timestamp is accurate, audio is recording if enabled, the horizon is level, and license plates on nearby vehicles are readable. Use remote viewing to check footage without physically accessing the camera. Save any clips from incidents or near-misses immediately, before loop recording overwrites them.
Key takeaways
Avoiding common dashcam setup mistakes requires correct power sourcing, safe cable routing, proper mounting position, high-endurance storage, and verified settings before your first drive.
| Point | Details |
|---|---|
| Hardwire for parking mode | A $20 to $40 hardwire kit enables parking protection that a cigarette lighter cannot provide. |
| Route cables behind airbags | Cables over the A-pillar airbag zone become dangerous during deployment; always route behind the factory harness. |
| Use high-endurance storage | Standard SD cards fail under loop recording; use Samsung PRO Endurance or SanDisk High Endurance at 128GB or larger. |
| Set bitrate and exposure correctly | 40 to 60 Mbps bitrate and exposure compensation of -0.5 day / -1.0 night produces license-plate-legible footage. |
| Verify recordings monthly | Silent failures go undetected until an incident; monthly playback checks catch problems before they matter. |
What we’ve learned from real dashcam installs
We have reviewed a lot of dashcam setups over the years, and the mistakes that cause the most damage are rarely the obvious ones. Drivers spend hours choosing the right camera model and then route the power cable directly over the A-pillar airbag without a second thought. That single error turns a safety device into a potential hazard.
The other pattern we see consistently is treating the dashcam as a set-and-forget device. A dashcam that has not been checked in six months may have a failed SD card, a firmware bug that corrupts files, or a mount that has shifted enough to point at the sky instead of the road. None of these failures announce themselves. You only find out when you need the footage.
Our honest recommendation: spend 15 minutes on installation planning before you touch the camera. Map your cable route, confirm your fuse box layout, and check your windshield for sensor zones. That upfront effort prevents 80% of the problems we see. And check your footage once a month. It takes five minutes and it is the only way to know your dashcam is actually doing its job.
— Cyberlab Automation
Skip the hardware headaches with DriveSight
Avoiding dashcam installation errors is straightforward when your dashcam is already in your pocket. DriveSight transforms any Android phone into a fully functional dashcam with AI-powered crash detection, accelerometer-based impact sensing, and a parking security mode that activates automatically when you park. There are no cables to route over airbags, no SD cards to format monthly, and no lens film to forget.
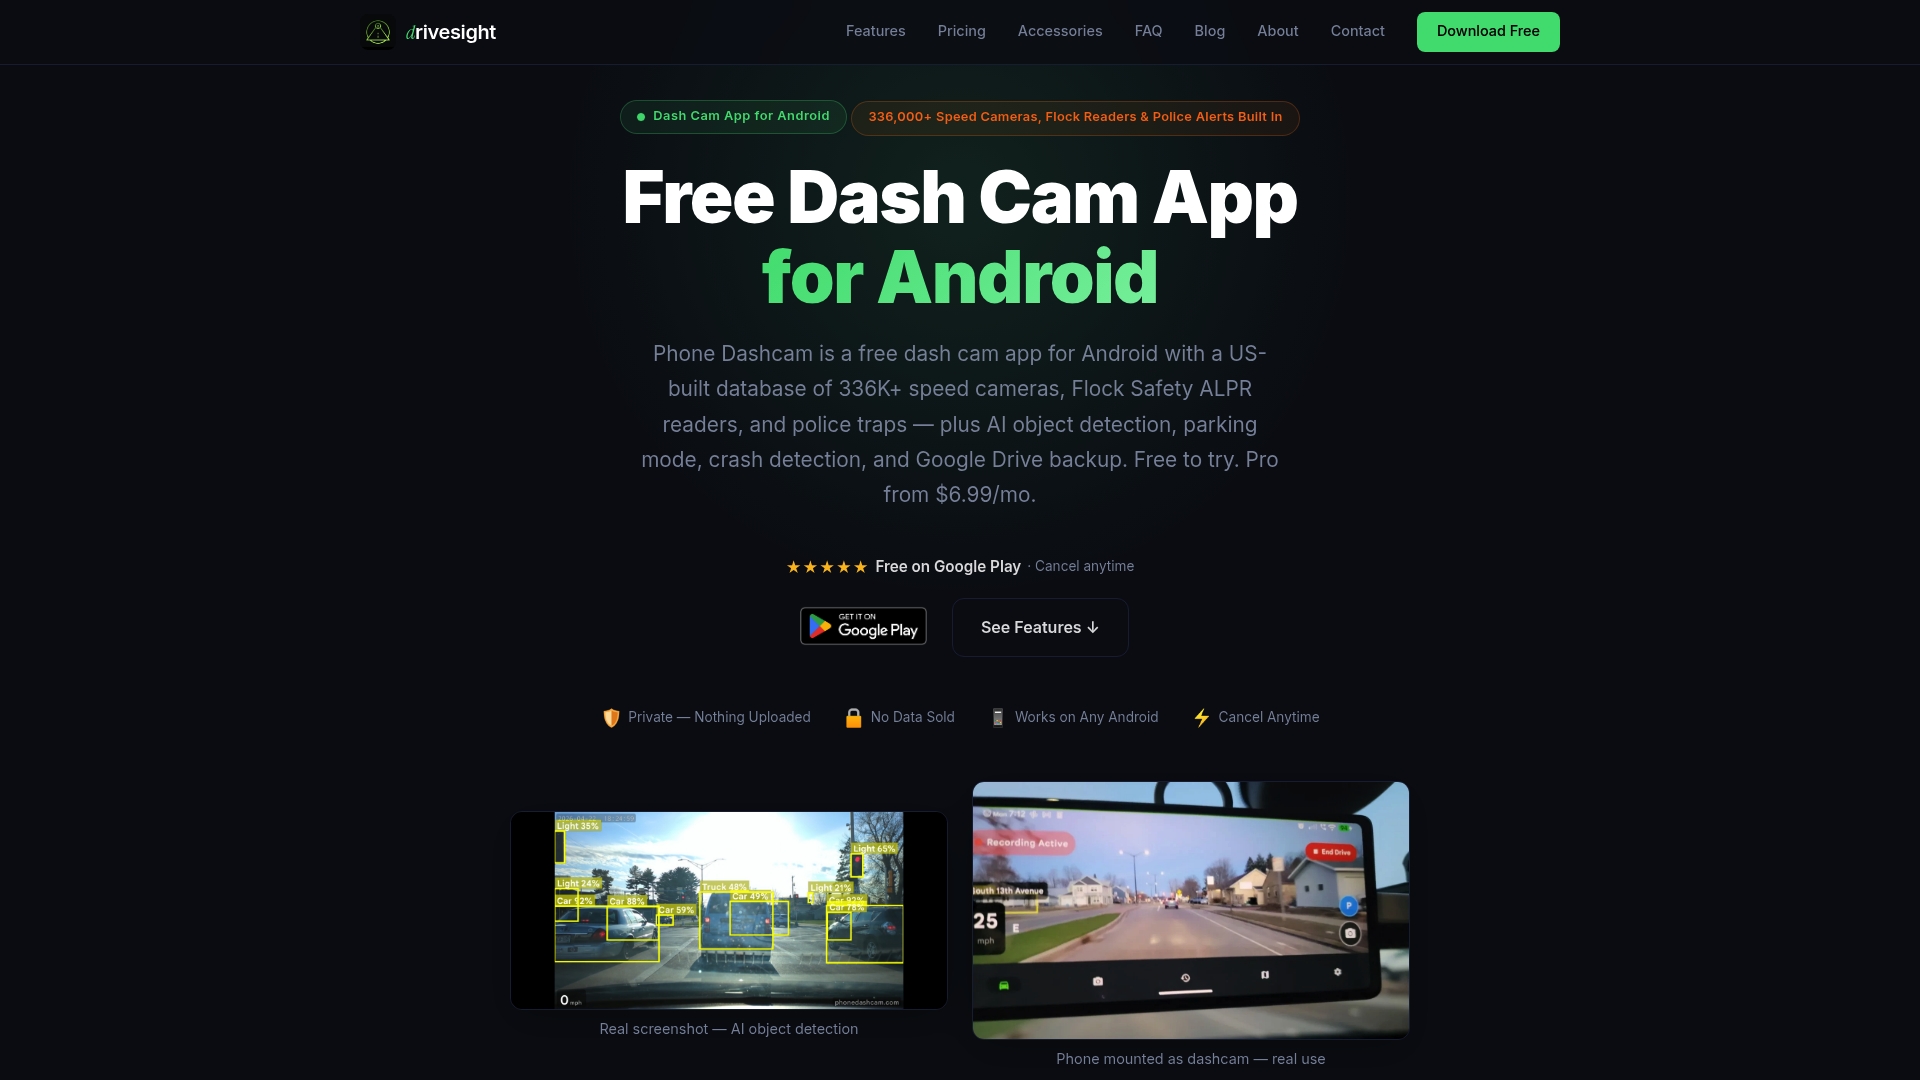
DriveSight updates automatically, so firmware bugs get patched without any action on your part. The free Android dashcam app takes under two minutes to set up and gives you remote viewing, cloud backup, and real-time speed camera alerts from a database of over 336,000 worldwide camera locations. Download it today and have a verified, working dashcam before your next drive.
FAQ
What is the most common dashcam wiring mistake?
Routing the power cable over the A-pillar airbag is the most dangerous wiring error. Cables must be secured behind the factory harness inside the trim panel to avoid becoming a projectile during airbag deployment.
Do I need a high-endurance SD card for my dashcam?
Yes. Standard SD cards are not built for the continuous loop recording that dashcams require and fail prematurely. High-endurance cards from Samsung, SanDisk, or Kingston at 128GB or larger are the correct choice.
How often should I format my dashcam SD card?
Format the card inside the dashcam every 30 days. In-camera formatting rewrites the file system correctly and prevents the corruption and fragmentation that cause silent recording failures.
What bitrate should I use for 4K dashcam recording?
Set your bitrate to 40 to 60 Mbps for 4K footage. Lower bitrates produce compression artifacts that make license plates unreadable, which reduces the footage’s value as evidence.
Can I use my Android phone as a dashcam instead of buying hardware?
Yes. Apps like DriveSight turn an Android phone into a fully functional dashcam with crash detection, parking mode, and remote viewing, with no hardware installation required.
Recommended
- Best Dashcam Video Quality Settings for Clear Footage
- Dashcam timelapse recording: Real examples and smart setups
- Dashcam Setup for Long-Haul Truck Cabs: 2026 Guide
- Dashcam recording modes explained for Android drivers
Get Phone Dashcam free
Loop recording, crash detection, GPS tracking, and AI object detection — all in your phone. No new hardware required.
Download Phone Dashcam