Real-World Dashcam Time-Lapse Setups and Examples
Choosing between timelapse, loop, and parking mode on an Android dashcam app is not a minor decision. The wrong mode can leave you with hours of compressed footage that misses a critical incident, or a storage card that fills up before your shift ends. For ride-share operators, delivery drivers, and daily commuters who want to turn old phone into dashcam hardware without spending money on dedicated devices, understanding these recording modes is the foundation of a reliable setup. This article walks through real recording examples, practical comparisons, and step-by-step guidance so you can make an informed choice.
Table of Contents
- How to choose the best dashcam mode for your needs
- Timelapse dashcam samples: What to expect from Android apps
- Budget dashcam setups: Turn your old Android phone into a timelapse camera
- Dashcam timelapse vs loop vs parking mode: Which works best for your drive?
- Why real footage matters more than specs when choosing dashcam modes
- Try DriveSight for smarter Android dashcam timelapse solutions
- Frequently asked questions
Key Takeaways
| Point | Details |
|---|---|
| Timelapse condenses footage | Timelapse mode records in bursts for easier review and smaller files. |
| Loop mode prevents missed events | Loop recording continually replaces old footage, so nothing is missed during long drives. |
| App setup is critical | Setting up power, mounting, and auto-start features ensures your dashcam phone stays reliable. |
| Real samples reveal true performance | Watching actual dashcam clips helps you pick the right mode and app for your routine. |
How to choose the best dashcam mode for your needs
Not every recording mode works for every driver. The three core modes you will encounter across Android dashcam apps are timelapse, loop recording, and parking mode. Each serves a distinct purpose, and mixing them up leads to gaps in coverage or wasted storage.
Timelapse mode captures frames at set intervals, then plays them back at normal speed. A 10-hour drive might compress into a 20-minute video. This is useful for documenting long road trips or reviewing a full day of parking lot activity without watching hours of footage. The trade-off is that fast events like a collision or a car door ding can fall between captured frames and never appear in the recording.
Loop recording continuously records video in short segments, typically 1 to 5 minutes each, and automatically overwrites the oldest segment when storage fills up. This mode is the backbone of most dashcam setups because it guarantees you always have recent footage without manually managing files. Android apps can turn an old phone into a continuously recording vehicle camera in loop mode, with background and auto-start capabilities that keep recording even after the screen locks.
Parking mode activates recording only when motion or an impact is detected while the vehicle is stationary. It conserves battery and storage by staying dormant until triggered. This is the right choice for overnight parking in busy areas or apartment lots where hit-and-run incidents are common.
Here is when each mode works best:
- Commuting: Loop recording, set to 2-minute segments, so you always have footage from the last 30 to 60 minutes of your drive
- Ride-share and delivery driving: Loop recording combined with impact detection to auto-save critical clips without interrupting the session
- Road trips: Timelapse for scenic documentation, with loop running in parallel if the app supports dual modes
- Overnight parking: Parking mode with motion-triggered recording to catch vandalism or collisions while you sleep
- Long-haul parking lots: Timelapse at low frame rates to document the full duration without filling storage
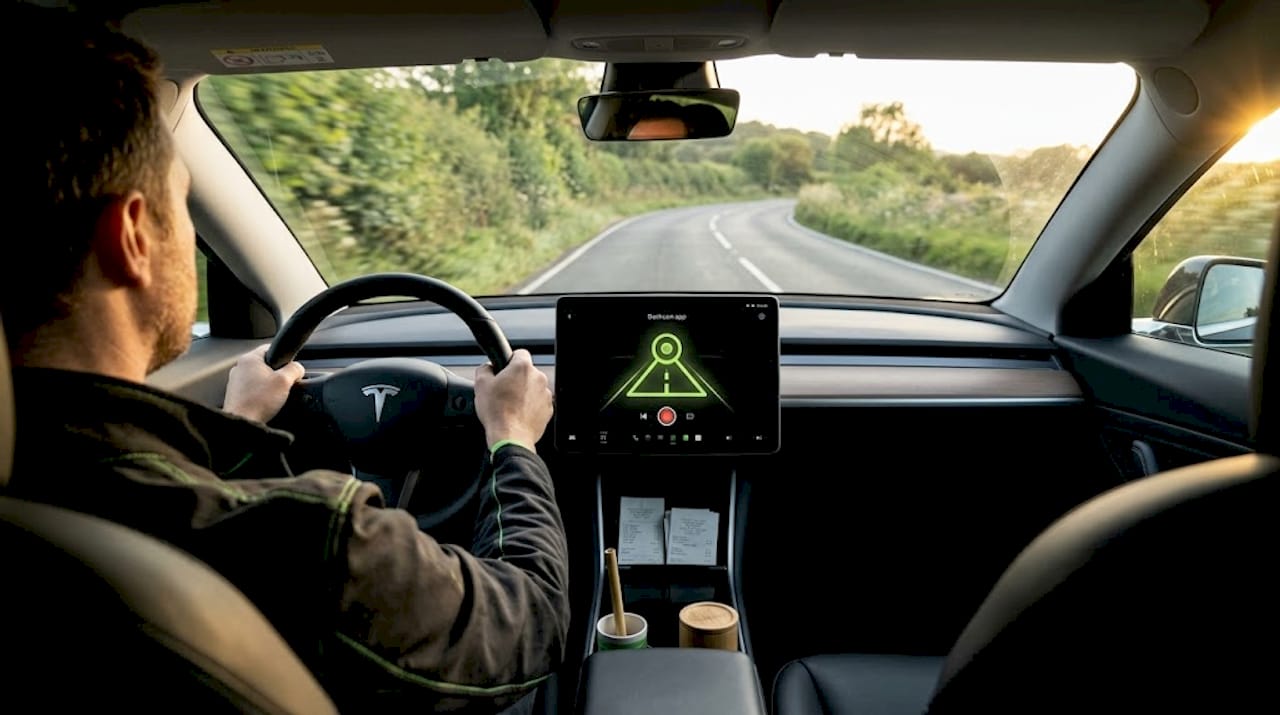
Mounting and power are just as important as the mode itself. A phone sitting in a cupholder without a stable mount will produce shaky, unusable footage. A windshield suction mount with a USB power cable routed along the trim keeps the phone charged and the lens steady. Most Android phones will drain their battery in 3 to 4 hours running the camera without a power source, so a reliable USB-C cable and a quality car charger are non-negotiable.
Pro Tip: If you use loop mode, enable the auto-start on power feature in your dashcam app. This way, the moment you plug in your charger or start the car, recording begins automatically without any manual input. It removes the single biggest cause of missed footage, which is forgetting to press record.
The best free dash cam app for your situation depends heavily on which of these modes you need most. Review the feature list carefully before committing to a setup.
Timelapse dashcam samples: What to expect from Android apps
Watching a sample video before you configure your app is one of the most practical steps you can take. Marketing descriptions use terms like “parking surveillance mode” and “time-lapse security recording” interchangeably, but the actual behavior can differ significantly between apps and even between firmware versions of the same app.
Real timelapse dashcam samples reveal several things that spec sheets do not:
- Frame rate consistency: Some apps drop frames during high CPU load, creating uneven playback that makes it hard to identify events
- Night performance: Timelapse clips recorded in low-light conditions expose whether the app adjusts exposure between frames or locks it at a fixed value
- Transition behavior: When an impact is detected mid-timelapse, does the app switch to full-frame recording automatically, or does it continue at the reduced frame rate?
- File segmentation: How does the app split files during a long timelapse session, and does it create gaps at the segment boundaries?
One real-world example worth noting: a parking mode labeled “time-lapse with impact detection” on one app may record at 1 frame per second during idle periods, then jump to 30 frames per second when the accelerometer detects a threshold impact. Another app with nearly identical marketing language might record at 5 frames per second continuously with no impact-triggered switch. In a hit-and-run scenario, those 4 extra frames per second during the idle period are irrelevant, but the absence of a full-resolution impact clip could mean the license plate is unreadable.
Before you finalize your parking or timelapse setup, spend 10 minutes watching actual user-uploaded clips from the same app version you plan to install. Pay attention to how the app handles the transition between idle recording and triggered recording. That transition behavior is what determines whether your footage is usable as evidence.
The Android parking mode guide on our site includes annotated examples of what good and poor parking mode footage looks like, which helps you set realistic expectations before your first overnight session.
Budget dashcam setups: Turn your old Android phone into a timelapse camera
Repurposing an old Android phone as a dedicated dashcam is one of the most cost-effective moves a budget-conscious driver can make. A phone that no longer serves as your daily driver can run dashcam software 24 hours a day without affecting your primary device. Here is how to set it up properly.
Step-by-step setup:
- Factory reset the old phone and remove any apps you do not need. A clean install reduces background processes that compete with the camera app for CPU and RAM.
- Install your chosen dashcam app from the Google Play Store. Look for apps that explicitly support background recording, loop mode, and auto-start on power connection.
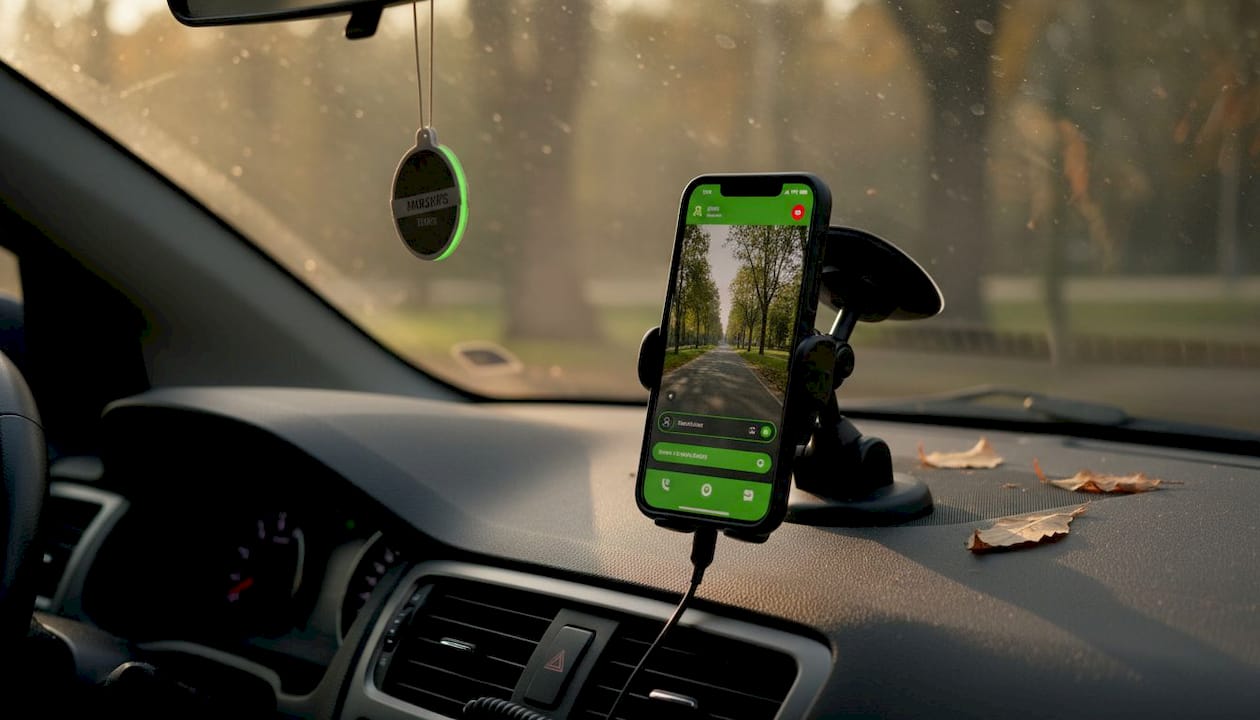
- Mount the phone on the windshield using a suction cup mount positioned behind the rearview mirror to minimize driver distraction and stay within legal mounting zones in most states.
- Route a USB power cable from the phone to a car charger or hardwired USB port. Use a cable rated for continuous charging to avoid heat buildup during long sessions.
- Configure storage settings to use a dedicated microSD card if the phone supports it, or allocate a fixed portion of internal storage for dashcam files. Set the loop duration to 2 or 3 minutes.
- Enable auto-start on charging in the app settings so recording begins the moment the phone receives power.
- Test the setup with a 30-minute drive, then review the footage for stability, exposure quality, and file continuity before relying on it for daily use.
You can use an Android app that supports timelapse multipliers for condensed recording or background loop recording for all-day capture, but you will need reliable power and mounting similar to a real dashcam setup to avoid gaps in coverage.
Key settings to enable in your dashcam app:
- Auto-start on power connection: Starts recording when the charger connects
- Background recording: Keeps the camera running when the screen is off
- Loop recording with overwrite: Prevents storage from filling up
- Impact detection sensitivity: Set to medium to avoid false triggers from road bumps
- GPS logging: Records speed and location data alongside video for evidence purposes
For drivers who want front and rear coverage simultaneously, a dual camera dashcam setup using the front and rear cameras of a single phone, or two phones mounted at each end of the vehicle, is achievable with the right app configuration.
Pro Tip: Disable the phone’s screen timeout or use the app’s built-in screen dimming feature. On AMOLED screens, the display dims to near-zero brightness while still technically staying on, which reduces battery draw significantly compared to keeping the screen fully active. This small adjustment can extend your recording window by 30 to 45 minutes on a single charge cycle.
The Android dash cam app section of our site covers additional configuration options specific to different Android versions and manufacturer overlays.
Dashcam timelapse vs loop vs parking mode: Which works best for your drive?
Now that you understand the setup process, a direct comparison helps clarify which mode delivers the best results for your specific driving pattern.
| Feature | Timelapse | Loop recording | Parking mode |
|---|---|---|---|
| Storage efficiency | Very high | Moderate | High |
| Coverage continuity | Gaps between frames | Continuous | Triggered only |
| Power consumption | Low to moderate | Moderate to high | Very low |
| Evidence quality | Low for fast events | High | High for triggered clips |
| Best use case | Long-duration documentation | Daily driving and rideshare | Unattended vehicle security |
| Auto-overwrite | Varies by app | Standard feature | Varies by app |
| Impact detection | Rarely included | Often included | Core feature |
Android apps support loop mode with background and auto-start capabilities, making continuous coverage achievable on hardware you already own.
Pros and cons by driver type:
- Everyday commuters: Loop recording wins. It captures everything without requiring any active management, and impact detection auto-saves clips from incidents automatically.
- Ride-share operators: Loop recording with GPS logging is the standard. Passengers and disputes require timestamped, continuous footage, not compressed timelapse clips.
- Drivers parking in high-risk areas: Parking mode is the clear choice. It conserves power for hours and only activates when something actually happens near the vehicle.
- Road trip documentarians: Timelapse suits the goal of creating a watchable summary, but should run alongside loop recording if the app supports it, so you have full-resolution footage available if needed.
A statistic worth noting: drivers who rely on timelapse-only recording miss an estimated 60 to 80 percent of real-time events depending on the frame interval selected. A 1-frame-per-second timelapse at highway speeds means each frame represents roughly 88 feet of travel at 60 mph. A collision that unfolds over 2 seconds covers 176 feet and may appear as a single jump cut in the footage. Loop recording at 30 frames per second captures every foot of that distance.
For a detailed breakdown of how specific apps handle these modes in practice, our vs Droid Dashcam and vs Dash Cam Travel comparison pages show side-by-side feature analysis with real configuration examples.
Why real footage matters more than specs when choosing dashcam modes
We have tested and compared dashcam apps extensively, and one pattern keeps appearing: drivers choose a recording mode based on the feature list, then discover the actual behavior only after an incident when it is too late to change anything.
Spec sheets describe capabilities in ideal conditions. They tell you an app supports “4K timelapse recording” or “motion-activated parking surveillance,” but they rarely explain what happens at the boundary between modes. What triggers the switch from timelapse to full-resolution? How many seconds of pre-trigger buffer does the app retain? Does impact detection work while timelapse is active, or does it only function in loop mode?
These are the questions that real footage answers. A 5-minute sample clip from an actual user running the app in parking mode on the same Android version you use tells you more than any bullet-pointed feature list. We have seen apps that claim impact detection support but only activate it when the main camera is in loop mode, leaving timelapse sessions completely unprotected.
The uncomfortable truth is that most drivers do not watch sample footage before setting up their dashcam. They install an app, accept the default settings, and assume it works as described. Then a parking lot incident happens, and they discover the footage is either a blurry 1-fps timelapse or completely absent because the trigger threshold was set too high.
Our recommendation is straightforward: before you commit to any recording mode, find real user footage from that specific app, recorded in conditions similar to yours. Our dashcam tips and comparisons section aggregates practical user experiences alongside technical breakdowns so you can evaluate behavior, not just features.
Try DriveSight for smarter Android dashcam timelapse solutions
If you are ready to put this knowledge into practice, the DriveSight app gives you loop recording, parking mode, impact detection, and AI-powered alerts in a single install on your existing Android device.
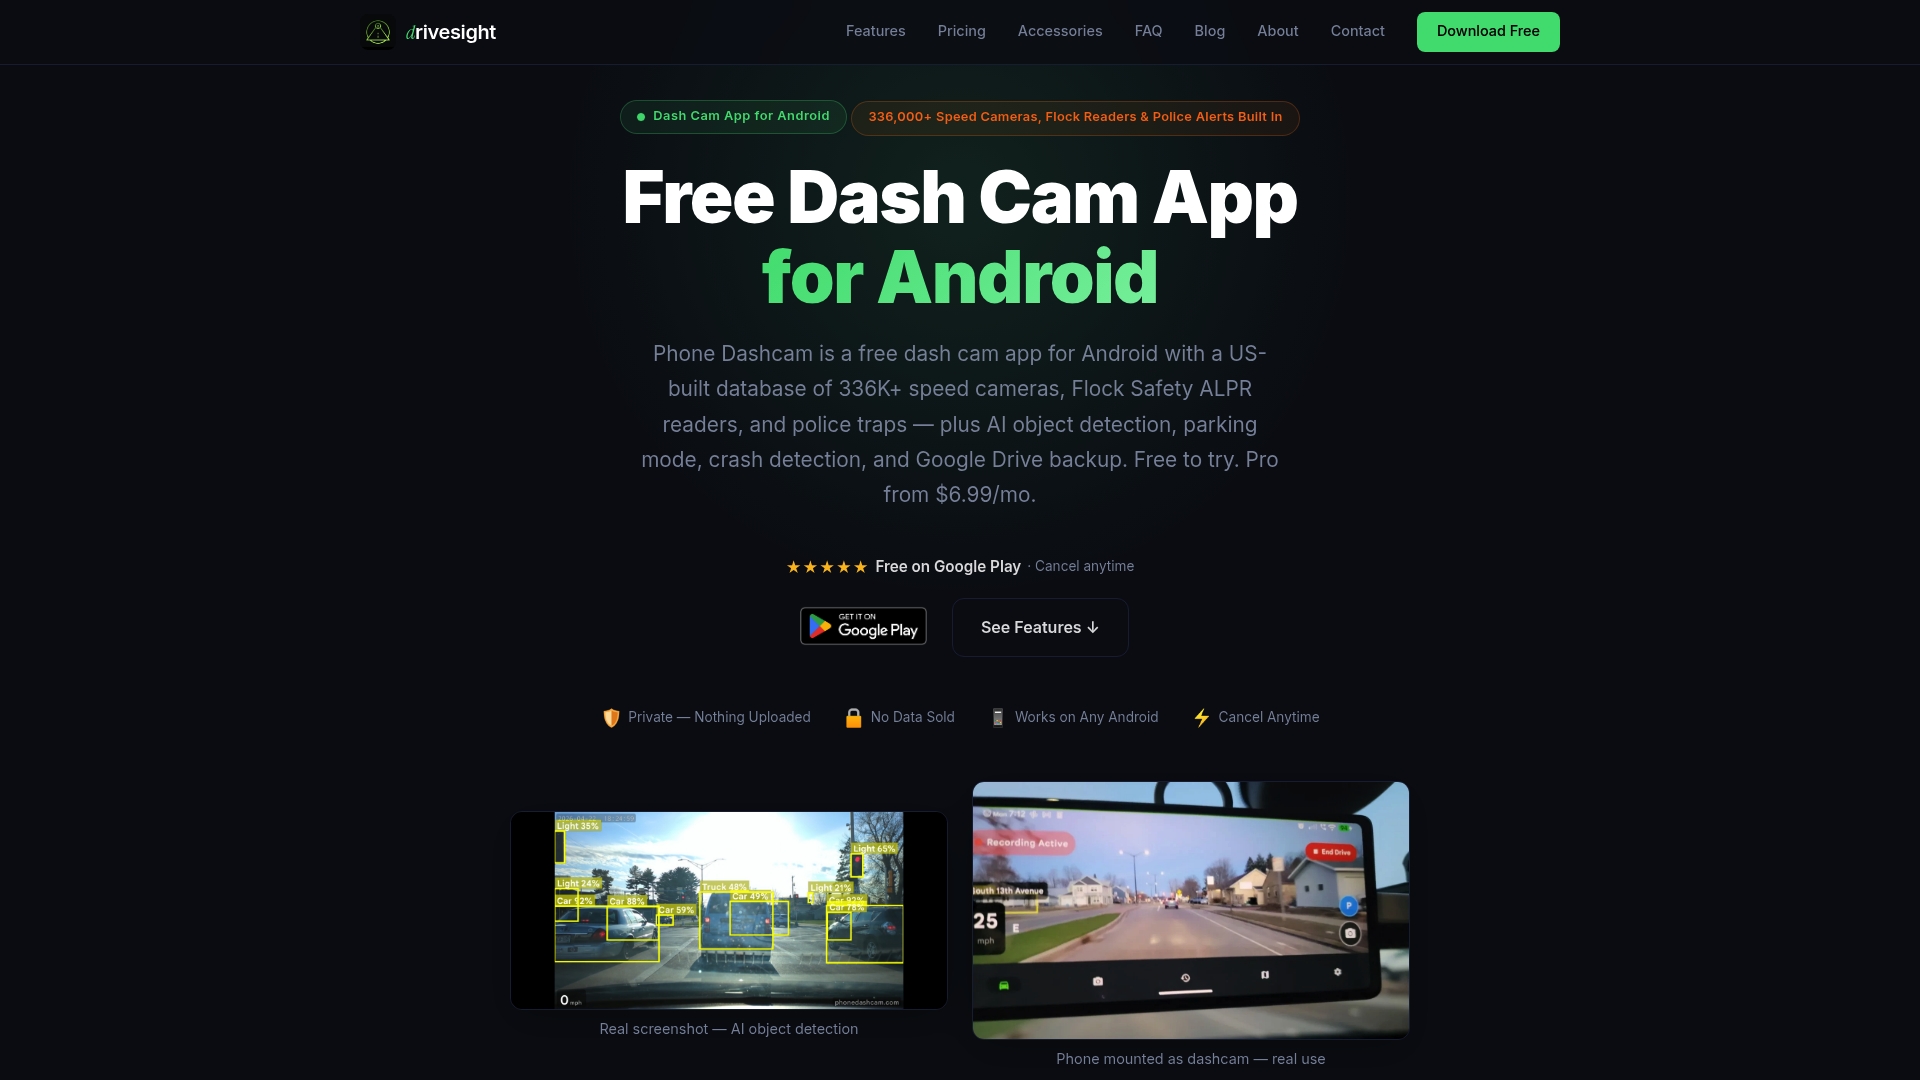
We built DriveSight specifically for drivers who want professional-grade dashcam functionality without buying dedicated hardware. Whether you are setting up a dual camera dashcam for front and rear coverage or just need reliable loop recording for your daily commute, the app handles it with on-device processing and local storage that keeps your footage private. You can also compare dashcam apps side by side on our site to see exactly how DriveSight stacks up against other options before you decide.
Frequently asked questions
What is the difference between dashcam timelapse and loop recording?
Timelapse condenses footage by capturing frames at set intervals, which reduces file size but creates gaps that can miss fast events. Loop recording continuously overwrites old segments to maintain uninterrupted coverage, making it the more reliable choice for evidence collection.
Which Android app is best for dashcam timelapse recording?
The best fit depends on your specific needs, including frame rate control, background recording support, and storage management. Apps with timelapse multipliers or loop recording work well, but you will need stable power and mounting to avoid gaps in coverage.
Can parking mode be used with timelapse recording on Android dashcam apps?
Some apps combine parking mode with timelapse and impact-triggered segments, but behavior varies significantly between apps. Watch sample clips from the specific app you plan to use to confirm how it handles the transition between idle timelapse and triggered full-resolution recording.
Recommended
- How to Create a Time-Lapse from Your Dashcam Clips
- DriveSight Blog — Dashcam Guides, App Comparisons & Driving Tips
- Dual Camera Dashcam Android — Record Front and Rear Simultaneously (2026)
- DriveSight — Free Dash Cam App for Android
Article generated by BabyLoveGrowth
Get DriveSight free
Loop recording, crash detection, GPS tracking, and AI object detection — all in your phone. No new hardware required.
Download DriveSight