What Are the Dashcam Recording Modes on Android?
Most drivers who repurpose an old Android phone as a dashcam hit the same wall: the app opens, shows three or four recording modes, and suddenly a simple safety tool feels like a configuration puzzle. Loop recording, event mode, manual capture — what’s the difference, and which one actually protects you when something goes wrong on the road? Choosing the wrong mode doesn’t just waste storage; it can mean the one clip you needed most is gone. This guide walks through each core recording type, explains the real-world trade-offs, and gives you a clear framework for picking the right setup the first time.
Table of Contents
- Key criteria for choosing a dashcam recording mode
- Loop recording: The backbone of dashcam reliability
- Event-triggered and manual recording modes
- Which recording mode is right for you?
- Most drivers overcomplicate dashcam settings — here’s what actually matters
- Try DriveSight for smart, hassle-free recording
- Frequently asked questions
Key Takeaways
| Point | Details |
|---|---|
| Loop recording basics | Loop mode automatically overwrites oldest videos, so your latest footage is always saved, even on small storage. |
| Event-triggered capture | Event-trigger or parking modes only record when something happens, saving storage and catching key moments. |
| Manual mode flexibility | Manual recording lets you capture anything extra whenever you want, even if other modes are running. |
| Match mode to needs | Choosing the right mode depends on your driving habits, parking needs, and evidence requirements. |
| Prioritize reliability | Automatic, set-and-forget modes capture what matters most with zero hassle or missed incidents. |
Key criteria for choosing a dashcam recording mode
Now that you know the importance of the right mode, let’s break down what to look for before deciding.
Not every recording mode fits every driver. Before you tap a setting, it’s worth understanding the factors that separate a reliable dashcam setup from one that fails you at the worst moment.
The most important criteria to evaluate:
- Storage behavior. Does the mode overwrite old footage automatically, or does it stop recording when the card fills up? An app that stops recording mid-drive is a liability, not a safety tool.
- Event-based vs. continuous capture. Continuous recording gives you unbroken coverage; event-based recording saves storage by only capturing triggered clips. Both have valid use cases.
- File review and transfer speed. After an incident, you need to locate and save footage fast. Shorter, well-labeled files are far easier to work with than one massive recording.
- Battery and thermal impact. Continuous recording at high resolution drains battery and heats the phone. The mode you choose directly affects how long your phone lasts on a long drive.
- Scenario fit. A commuter driving 20 minutes each way has different needs than a rideshare driver logging eight hours or a car owner who wants parking lot security overnight.
Turning an old phone into a dashcam is genuinely straightforward once you match the recording mode to your actual use case. Android dashcam apps typically expose a loop recording mode plus auto-start/auto-stop conditions, which effectively recreate dashcam-like continuous overwrite and event trigger behaviors depending on how you configure them.
Pro Tip: Look for apps that support auto-start when power is connected and auto-stop when power is removed. That single feature eliminates the most common failure point: forgetting to start the app before you pull out of the driveway.
Loop recording: The backbone of dashcam reliability
With your main criteria in mind, let’s start with the most fundamental mode every dashcam app should have: loop recording.
Loop recording is the feature that makes a dashcam a dashcam. Without it, you’re just running a video camera that stops when storage fills. Loop recording works by capturing footage in short segments and deleting or reusing the oldest files once storage is full, keeping the most recent footage always available. That first-in, first-out cycle is what separates a true dashcam from a basic screen recorder.
Why segment length matters more than most drivers realize
Every loop recording setup asks you to choose a segment length, typically 1, 3, or 5 minutes per file. This isn’t just a storage preference; it directly affects how useful your footage is after an incident.
- A 1-minute segment means a fender bender at minute 47 of your drive is isolated in a small, easy-to-share file.
- A 3-minute segment gives slightly larger files but still keeps incidents manageable to locate.
- A 5-minute segment reduces the total number of files but means you may need to trim a longer clip before sharing with insurance or police.
Android dashcam apps often expose loop recording settings that let you configure both segment length and the minimum free storage threshold before overwriting begins.
Loop recording segment reference table
| Segment length | Approx. file size (1080p) | Files per 32 GB card | Overwrite cycle starts |
|---|---|---|---|
| 1 minute | ~150 MB | ~213 files | After ~3.5 hours |
| 3 minutes | ~450 MB | ~71 files | After ~3.5 hours |
| 5 minutes | ~750 MB | ~42 files | After ~3.5 hours |
Total storage duration stays roughly the same regardless of segment length. What changes is granularity and how quickly you find the right clip.
“Loop recording is an overwrite-style continuous recording where the camera records in segments and deletes the oldest footage once storage is full, ensuring the most recent footage is always preserved.”
This behavior is exactly why loop recording is the default mode on virtually every dedicated dashcam hardware unit. It’s set-and-forget reliability. You can pair it with a front and rear dashcam setup on Android to cover both directions without doubling your storage complexity, since both cameras loop independently.
For a broader look at how different apps implement this feature, the best Android dashcam apps guide covers specific configuration options across the most popular options available today.
Pro Tip: Set your segment length to 1 or 2 minutes if you drive in high-traffic areas or frequently encounter aggressive drivers. Shorter clips are significantly easier to share via email or messaging apps without compression artifacts.
Event-triggered and manual recording modes
Beyond continuous recording, many apps support event-based triggers and manual controls. Here’s how these modes compare and when each one earns its place.
How event mode works
Event-triggered recording activates based on a sensor input rather than running all the time. The most common triggers are:
- G-sensor impact detection. The phone’s accelerometer detects a sudden force, such as a collision or hard braking, and immediately saves the current clip to a protected folder that loop recording cannot overwrite.
- Motion detection. The camera analyzes the frame for movement. This is primarily useful in parking mode, where the car is stationary and any activity around it should be captured.
- Manual trigger. You tap a button on screen or use a physical button to flag the current recording as an event worth saving.
These event detection features are what separate a basic recording app from a genuine safety tool. When a fender bender happens, the app doesn’t just keep recording; it locks that segment so it can’t be overwritten, even if the card fills up five minutes later.
Setting up event detection: Step-by-step
- Open your dashcam app’s settings and navigate to the sensor or detection section.
- Enable G-sensor recording and set the sensitivity. Start at medium; high sensitivity can trigger false saves from speed bumps.
- Enable motion detection if you plan to use Android parking mode overnight or in a lot.
- Set the pre-event buffer. Most apps save 10 to 30 seconds before the trigger, which is critical for capturing what caused the incident.
- Set the post-event recording length. 30 to 60 seconds after the trigger is usually enough to capture the full scene.
- Test by gently tapping the phone mount while recording. Confirm a protected clip appears in your event folder.
Mode comparison table
| Mode | Best use case | Storage impact | Requires manual action | Evidence protection |
|---|---|---|---|---|
| Loop recording | Daily driving, commuting | Moderate, auto-managed | None after setup | Standard (can overwrite) |
| Event-triggered | Accidents, parking security | Low, clips only | None (auto-trigger) | High (protected folder) |
| Manual recording | Specific situations | Variable | Yes, user-initiated | High (user-controlled) |
Android dashcam apps expose these modes with varying degrees of configuration depth. The best implementations let you run loop recording continuously while event mode operates as a parallel layer, protecting critical clips without interrupting the main recording stream.
Manual mode is straightforward: you decide when to record and when to stop. It’s useful when you spot a situation developing before anything happens, like a driver behaving erratically ahead of you. Tapping record gives you a timestamped, standalone file that’s easy to locate later.
Which recording mode is right for you?
With a clear breakdown of mode types, the next obvious question is: which mode is the best fit for your specific needs?
The honest answer is that most drivers benefit from running loop recording as their primary mode with event detection layered on top. But your specific situation can shift that balance.
Matching modes to driver types:
-
Daily commuters (under 45 minutes each way). Loop recording at 1-minute segments with G-sensor event detection enabled. You’ll have continuous coverage for the full commute, and any incident gets automatically protected. Storage requirements are minimal.
-
Rideshare and delivery drivers (long shifts, high mileage). Loop recording is essential here because you simply cannot monitor storage manually during a shift. Pair it with motion-based event detection so that passenger disputes or parking lot incidents are automatically flagged. A 64 GB card gives you roughly seven hours of 1080p footage before the loop cycle begins.
-
Occasional drivers and weekend users. Manual recording or short-loop recording works well. You’re not generating hours of footage daily, so storage management is less critical. The priority is making sure the app auto-starts when you plug in power.
-
Parked car security. Event-triggered mode is the clear winner here. Running continuous recording overnight drains your battery and fills storage with hours of an empty parking lot. Motion detection with a 30-second pre-buffer captures exactly what matters: the moment someone approaches or contacts your vehicle.
-
Long-distance travelers. Loop recording with 3-minute segments and cloud backup enabled. You want unbroken coverage across state lines, and the longer segments keep file counts manageable. Recording segmentation length directly affects how quickly the overwrite cycle discards older footage, which matters when you’re eight hours into a road trip and storage is cycling through.
For a detailed look at how specific apps handle these scenarios differently, the dashcam app comparisons page breaks down real configuration differences side by side.
Quick decision guide:
- Need unbroken coverage while driving? Use loop recording.
- Want automatic protection for accidents without managing files? Add event-triggered mode.
- Monitoring a parked car overnight? Use event-triggered with motion detection.
- Capturing a specific developing situation? Switch to manual recording on the spot.
The most reliable setups combine loop and event modes together. Loop handles the continuous record; event mode handles the protection. You get both coverage and evidence preservation without choosing between them.
Most drivers overcomplicate dashcam settings — here’s what actually matters
We’ve seen a consistent pattern among drivers who reach out after a frustrating setup experience: they’ve spent an hour adjusting bitrate, frame rate, resolution scaling, and GPS overlay settings, and then their app failed to start one morning because they forgot to enable auto-launch on power connection.
The uncomfortable truth is that 99% of driving situations are covered by two things: loop recording that starts automatically and event detection that protects clips when something happens. Everything else is secondary. The drivers who get the most value from their phone dashcam are almost always the ones who kept the setup simple and verified that it actually works before relying on it.
We’ve also noticed that obsessing over rare feature combinations, like trying to run simultaneous 4K front recording with real-time AI detection and cloud sync on a four-year-old phone, often leads to thermal throttling, dropped frames, or app crashes at exactly the wrong moment. A stable 1080p loop with reliable event detection will serve you better in an actual incident than an unstable 4K setup that freezes under load.
Our recommendation: configure loop recording and event detection first. Test both by simulating a trigger. Confirm auto-start works. Then, and only then, explore additional features. The best phone dashcam setup tips consistently point back to this same foundation. Reliability beats feature count every time.
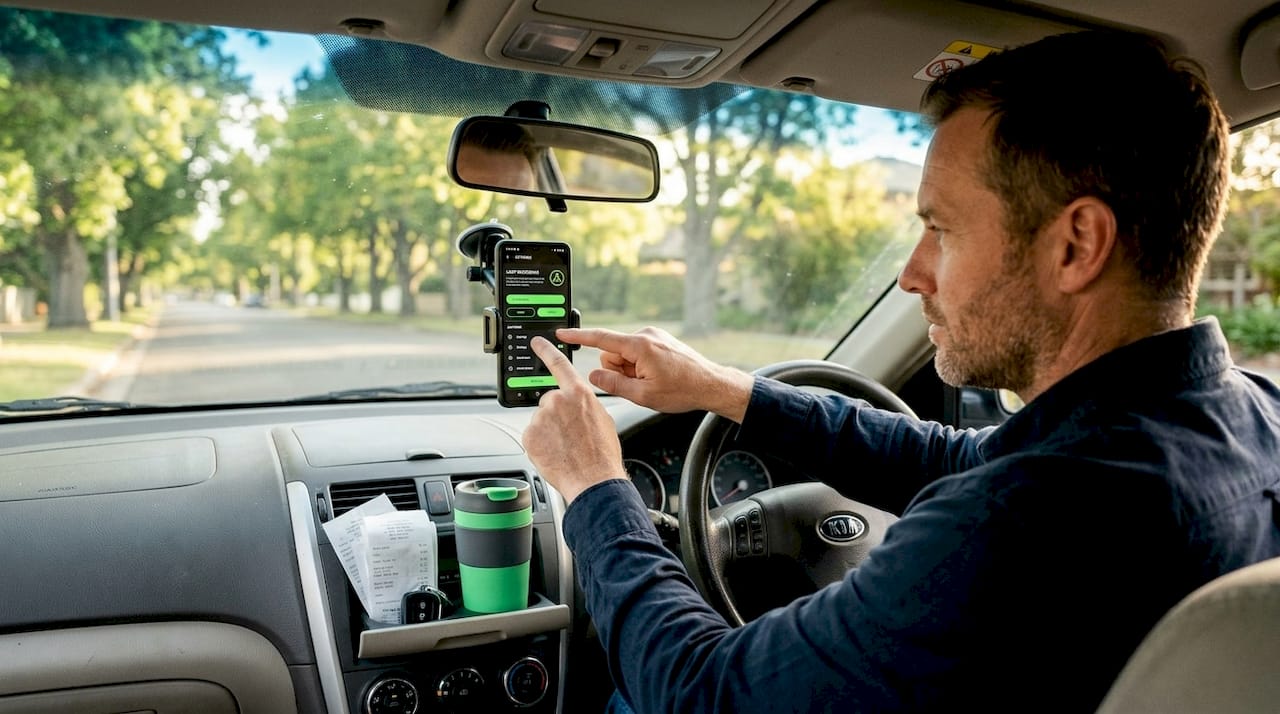
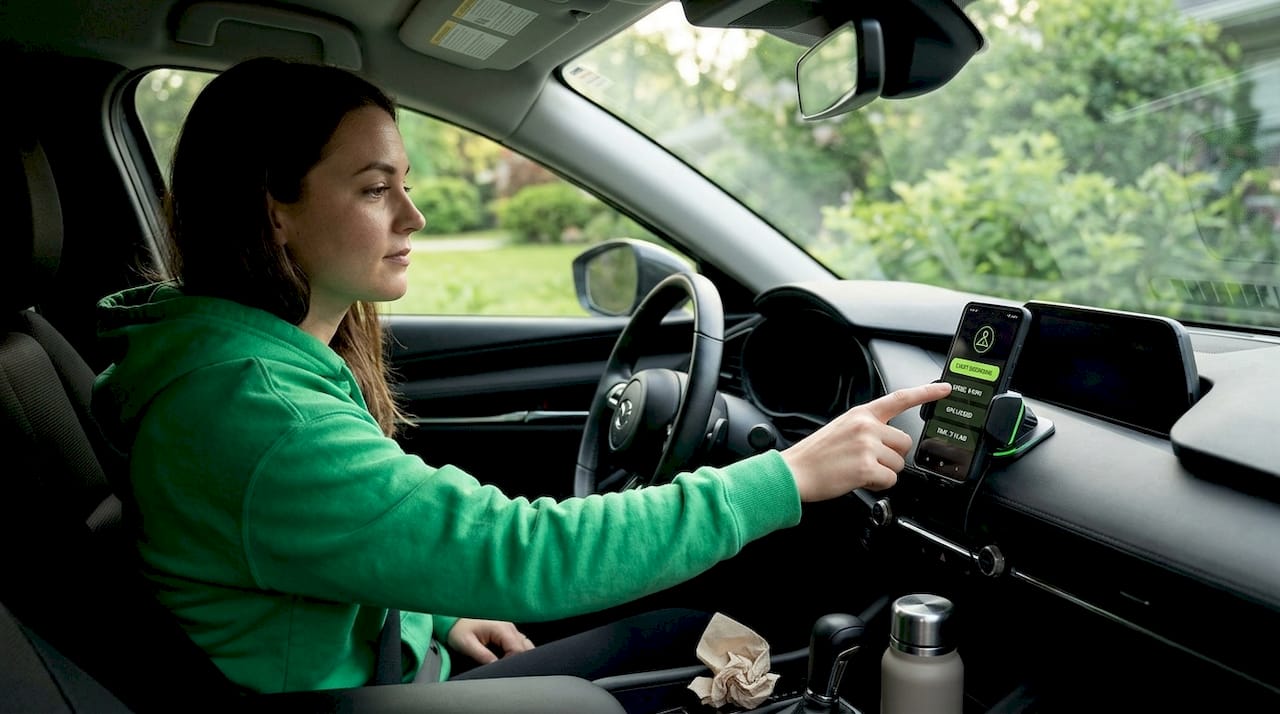
Try DriveSight for smart, hassle-free recording
If you’ve worked through this guide and want an app that handles all of these modes cleanly out of the box, DriveSight for Android is built exactly for this. It supports loop recording, event-triggered capture, and manual recording with straightforward configuration that doesn’t require an engineering background to get right.
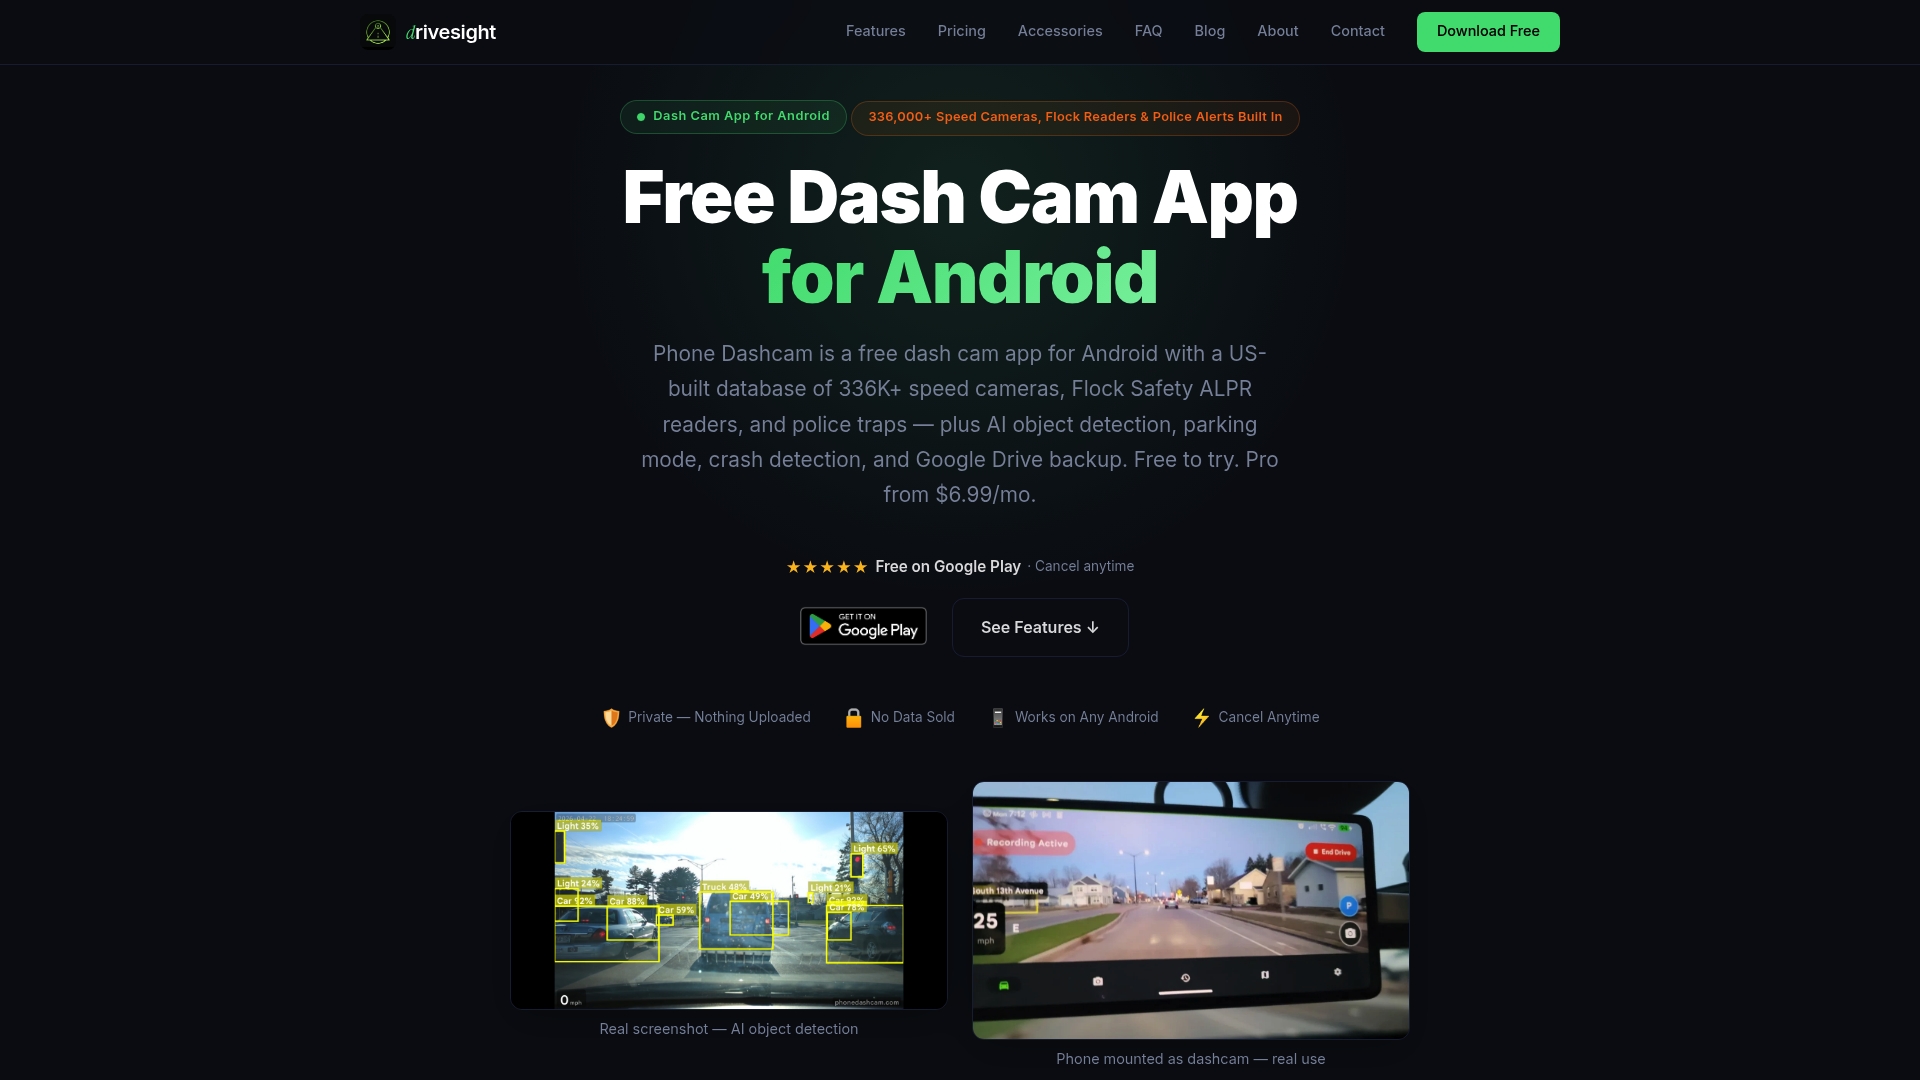
The top DriveSight features include accelerometer-based crash detection, motion-triggered parking mode, automatic clip protection, and a real-time alert database covering over 336,000 US speed cameras and police traps. If you’re weighing your options, the DriveSight vs Droid Dashcam comparison breaks down exactly how the recording modes, interface, and detection capabilities differ between the two. Setup takes under five minutes, and the app is designed to run reliably on older Android hardware without overheating or draining your battery mid-drive.
Frequently asked questions
Does loop recording delete all my old videos automatically?
Loop recording only deletes the oldest footage when storage is full, so recent files are always preserved and event-protected clips are never overwritten.
How does event-triggered mode work for parking security?
Event-triggered mode uses your phone’s motion sensors or camera-based detection to record clips only when activity is detected, and Android dashcam apps expose these trigger behaviors through configurable sensitivity settings.
Can I use manual recording alongside loop or event modes?
Most Android dashcam apps let you initiate a manual recording at any time, and apps that expose loop and event modes typically allow manual capture to run as a separate, parallel session.
What segment length should I use for loop recording?
Shorter segments like 1 to 3 minutes make incidents easier to locate and share, while recording segmentation length also determines how quickly the overwrite cycle moves through older footage on a full card.
Recommended
- Dashcam Parking Mode: How It Works on Android (2026 Guide)
- Dual Camera Dashcam Android — Record Front and Rear Simultaneously (2026)
- DriveSight Blog — Dashcam Guides, App Comparisons & Driving Tips
- DriveSight — Free Dash Cam App for Android
Get DriveSight free
Loop recording, crash detection, GPS tracking, and AI object detection — all in your phone. No new hardware required.
Download DriveSight