How to Activate Dashcam Parking Security Mode in 2026
Dashcam parking security mode is the feature that enables your dashcam to monitor and record activity around your parked vehicle automatically, without you being present. Activating it correctly is the difference between capturing a hit-and-run on camera and finding a dented bumper with no evidence. Dashcams from Garmin, Nextbase, and 70mai all include some form of parking surveillance, but the setup process varies by model and power source. This guide covers every step to dashcam parking security mode activate correctly, from hardware prerequisites through sensitivity calibration and ongoing maintenance.
What you need before you activate dashcam parking security mode
Getting parking mode working reliably starts with the right hardware, not just the right settings. Without a proper power source, your dashcam will shut off the moment you turn off the ignition, and parking mode will never engage.
Here is what you need in place before touching any menus:
- A compatible dashcam. Confirm your model supports parking mode. Garmin Dash Cam 67W, Nextbase 622GW, and 70mai A800S all include it natively. Check your manual or the manufacturer’s app.
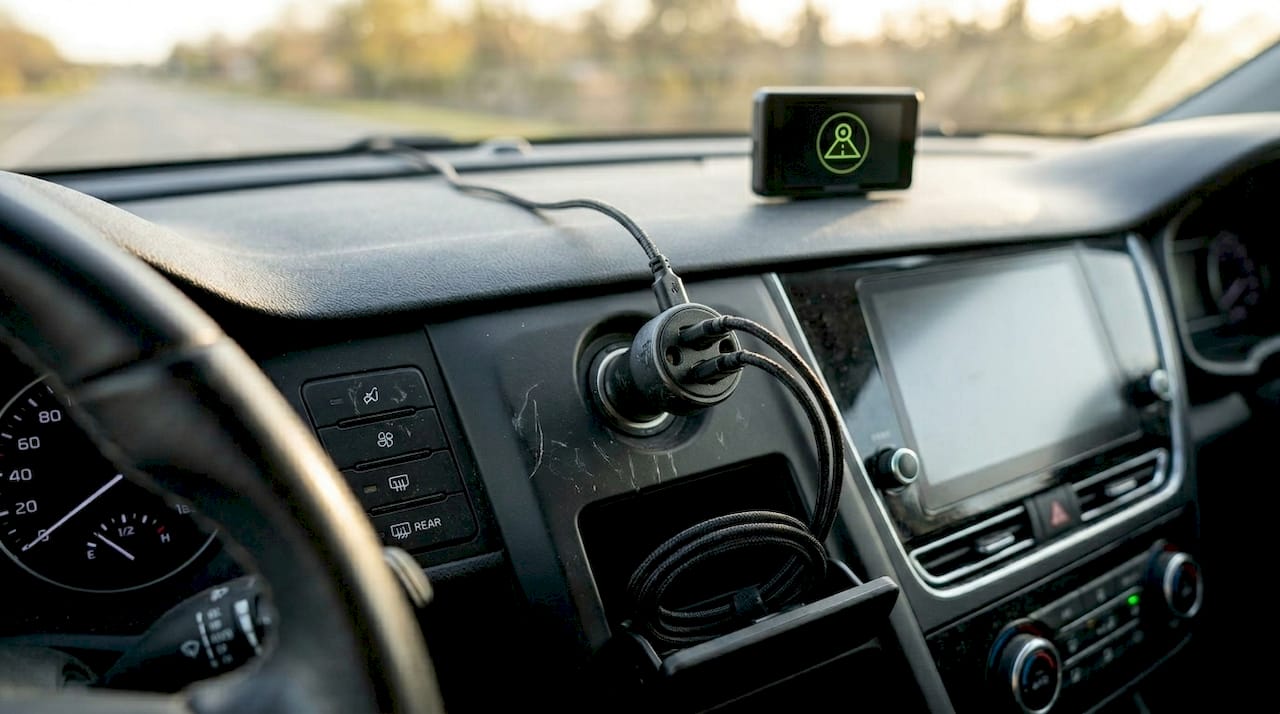
- A hardwire kit or external battery pack. Internal batteries only support 30 to 60 minutes of parking mode before dying. For all-day protection, you need a hardwire kit connected to the vehicle’s fuse box or a dedicated dashcam battery pack like the Viofo B-130 or Cellink Neo.
- A voltage cutoff module. This is non-negotiable. Continuous parking mode draws 200 to 500mA, which can drain a standard car battery within 24 to 48 hours. A cutoff module stops power delivery when battery voltage drops to a safe threshold.
- Firmware updated to the latest version. Outdated firmware causes parking mode instability and power management bugs. Check the manufacturer’s website or companion app before setup.
- A microSD card with sufficient capacity. Parking mode generates more footage than driving mode. A 128GB or 256GB card is the practical minimum for multi-day coverage.
Pro Tip: If you use a switched 12V socket as your power source, parking mode will cut off when the ignition turns off. That socket type is fine for driving recording but defeats the purpose of parking surveillance entirely.
How to activate and configure parking mode step by step
Once your hardware is ready, activation is straightforward. The menu paths below reflect the most common dashcam interfaces. Your specific model may label options slightly differently, but the logic is identical.
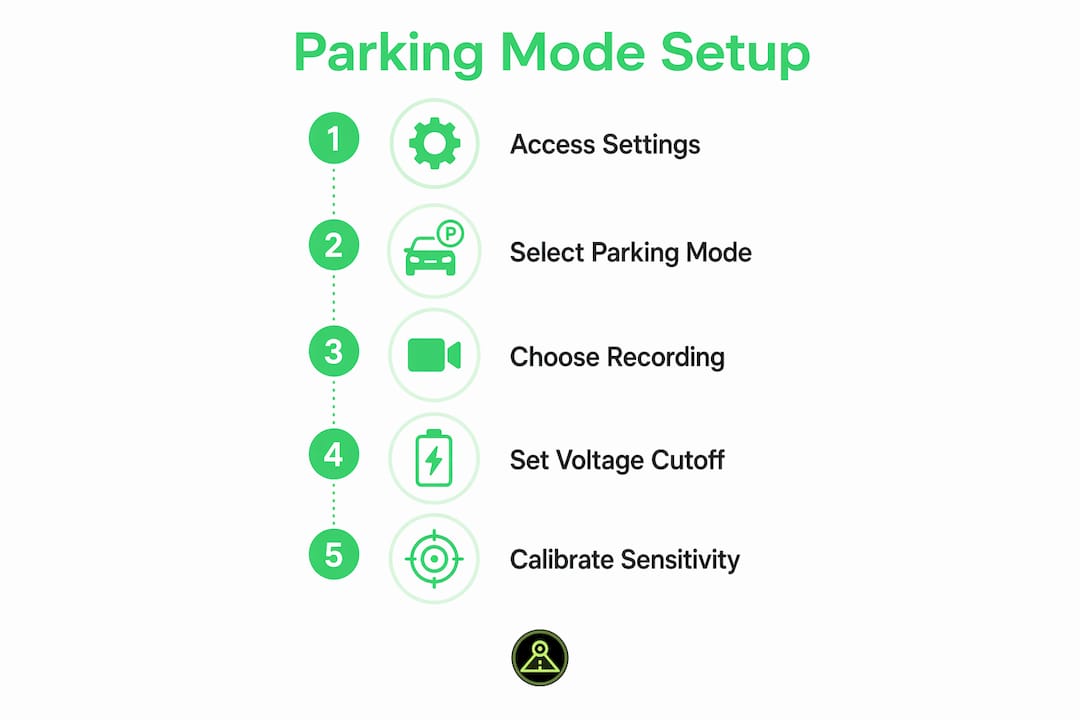
- Power on your dashcam and access Settings. On most dashcams, this is a physical button or a touchscreen tap on the gear icon.
- Locate the Parking Mode or Parking Guard menu. On Garmin units, this sits under “Driver Alerts.” On Nextbase models, look under “Parking Mode” directly. On 70mai devices, it appears in the main settings panel.
- Select your recording method. You have three options: impact detection (G-sensor trigger), motion detection, or time-lapse. Motion detection mode is preferred in busy parking environments because it reduces false triggers and storage consumption compared to continuous recording.
- Set G-sensor sensitivity. Start at medium. High sensitivity causes the dashcam to record every truck that drives past. Low sensitivity risks missing a real collision. You will fine-tune this after your first week of real-world data.
- Configure your voltage cutoff. Set the cutoff to 12.0 volts for lead-acid batteries or 11.8 volts for AGM batteries. This prevents the dashcam from draining your starter battery below safe levels.
- Enable buffered pre-event capture if available. This records several seconds before the trigger event, giving you context that starts before impact rather than after.
- Save settings and test. Walk away from the vehicle, then tap the hood lightly. Confirm the dashcam wakes and records. Review the clip to verify timestamp, resolution, and audio are all functioning.
| Recording method | Best use case | Power consumption |
|---|---|---|
| Impact (G-sensor) | Quiet residential streets | Very low |
| Motion detection | Busy parking lots, urban areas | Low to moderate |
| Time-lapse | Long-term monitoring, low storage | Very low |
| Continuous | High-risk locations, short durations | High |
Pro Tip: After activating parking mode for the first time, review your footage after 24 hours. You will immediately see whether sensitivity is too high (dozens of clips from passing cars) or too low (no clips despite activity). Adjust from there rather than guessing upfront.
How to troubleshoot common parking mode problems
Even with correct setup, parking mode can behave unexpectedly. These are the most frequent issues and their direct fixes.
- Dashcam does not enter parking mode at all. The most common cause is a switched power source. Verify your hardwire kit connects to a fuse that stays live when the ignition is off. Use a multimeter to confirm voltage at the fuse tap with the car off.
- Excessive false triggers filling up storage. Reducing G-sensor sensitivity rather than disabling it entirely is the correct fix. Disabling the G-sensor means you lose impact detection completely. Dropping one sensitivity level typically cuts false events by more than half.
- Battery draining faster than expected. Confirm your voltage cutoff is active and set correctly. If you are using an external battery pack, check its rated capacity against your dashcam’s draw. A 5,000mAh pack running a 300mA dashcam provides roughly 16 hours of monitoring.
- Parking mode exits randomly during the night. This usually points to a firmware bug. Applying the latest firmware update resolves most power management glitches. After updating, reset the dashcam to factory defaults and reconfigure parking mode from scratch.
- Rear camera not recording in parking mode. Some dashcam models only activate the front camera in parking mode by default. Check your dual-camera settings and enable rear parking mode separately if the option exists. Our guide on dual-camera parking setups covers this in detail.
Dashcam parking mode best practices for maximum vehicle security
Getting parking mode activated is step one. Getting it to work reliably for months without intervention is the real goal. These practices separate a well-configured parking surveillance camera from one that fails when you need it most.
Use a first-week calibration approach: set sensitivity to medium and voltage cutoff conservatively, then review actual recorded events after seven days. Adjust sensitivity based on what you see, not what you assume. This method consistently produces better results than trying to dial in perfect settings on day one.
Prioritize dashcams that support buffered pre-event capture. Without it, your recording starts after the trigger, which often means you capture the aftermath of a collision but not the vehicle that caused it. With buffered capture, you get the seconds leading up to impact, which is what insurers and police actually need.
For parking in busy urban lots, motion detection outperforms G-sensor-only modes because it catches pedestrians and cyclists approaching your vehicle, not just physical impacts. For quiet residential streets overnight, G-sensor mode alone is sufficient and uses far less power.
Manage your storage actively. Set your dashcam to overwrite the oldest non-event footage automatically, and back up flagged clips to cloud storage or a connected app regularly. Footage that sits on a card for weeks without backup is footage you can lose to card failure.
Regularly test your parking mode setup by reviewing footage after each parking session for the first month. A system you have verified working is worth far more than one you assume is working.
Key takeaways
Activating dashcam parking security mode correctly requires proper power hardware, calibrated sensitivity settings, and regular maintenance to deliver reliable vehicle protection.
| Point | Details |
|---|---|
| Power source is critical | Hardwire kits with voltage cutoff modules are required for all-day parking mode protection. |
| Match mode to environment | Use motion detection in busy lots and G-sensor mode on quiet streets to balance accuracy and power. |
| Calibrate after real-world use | Review footage after the first week and adjust sensitivity based on actual recorded events. |
| Buffered capture matters | Pre-event recording captures seconds before impact, providing evidence that starts before the collision. |
| Firmware keeps it stable | Regular firmware updates fix power management bugs that cause parking mode to exit unexpectedly. |
What we have learned from real parking mode deployments
From our experience building and testing parking surveillance features in DriveSight, the single biggest mistake users make is trusting default settings. Manufacturers set G-sensor sensitivity to medium-high out of the box because it looks impressive in demos. In practice, a sensitivity level that triggers on a passing bus generates hundreds of useless clips and fills your card in hours.
The second lesson is that power setup anxiety is mostly solved by proper voltage cutoff configuration. Battery drain concerns are largely solvable with correct setup, and most users who experience dead batteries skipped the cutoff module entirely or set the threshold too low. Set it at 12.0 volts for lead-acid, test it once, and you will not think about it again.
We have also seen parking mode footage make a genuine difference in insurance disputes and police reports. The cases where it fails are almost always traceable to a dashcam that exited parking mode due to a firmware bug or a power source that cut off with the ignition. Both are preventable with the steps in this article.
Our honest recommendation: spend 30 minutes on proper hardwire installation and calibration upfront. That investment pays off the first time your vehicle is hit in a parking lot and you have clear footage of the responsible party.
— Cyberlab Automation
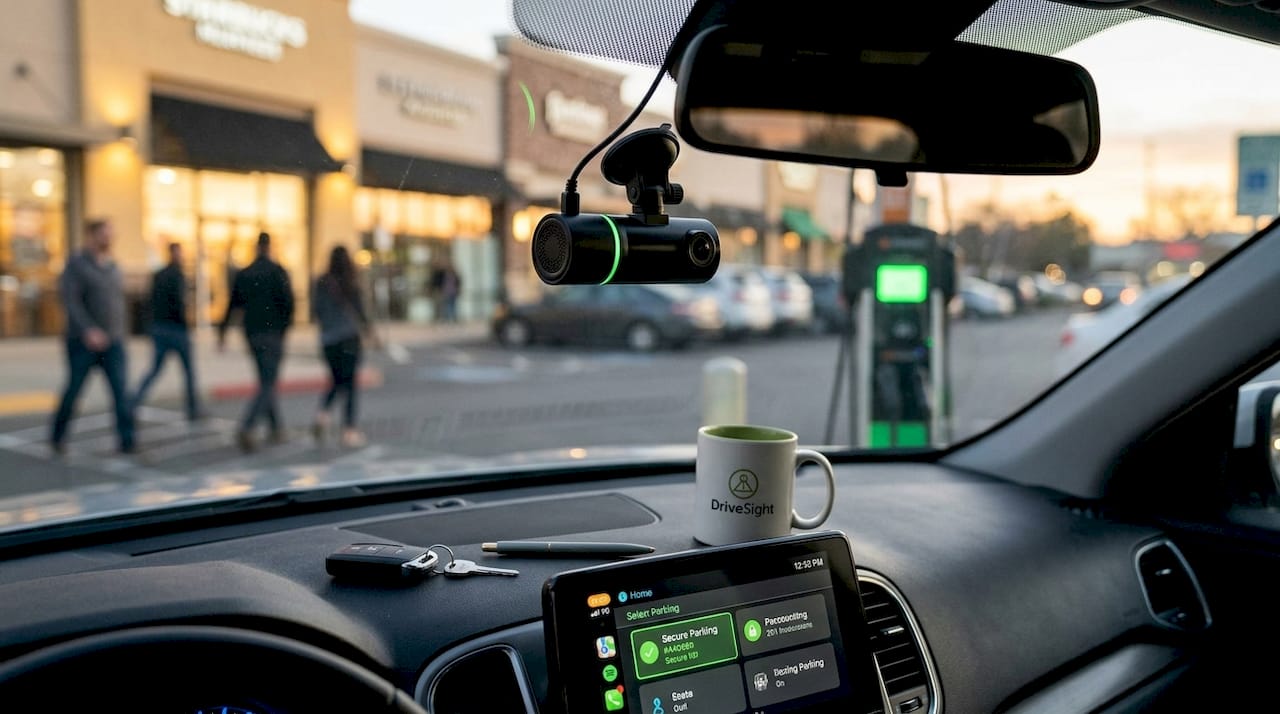
Turn your Android phone into a parking security camera
DriveSight’s Phone Dashcam app gives Android users a direct path to parking surveillance without buying dedicated hardware. The app’s parking security mode activates automatically when your phone detects the vehicle is stationary, using accelerometer-based impact sensing and AI-powered motion detection to trigger recording only when it matters.
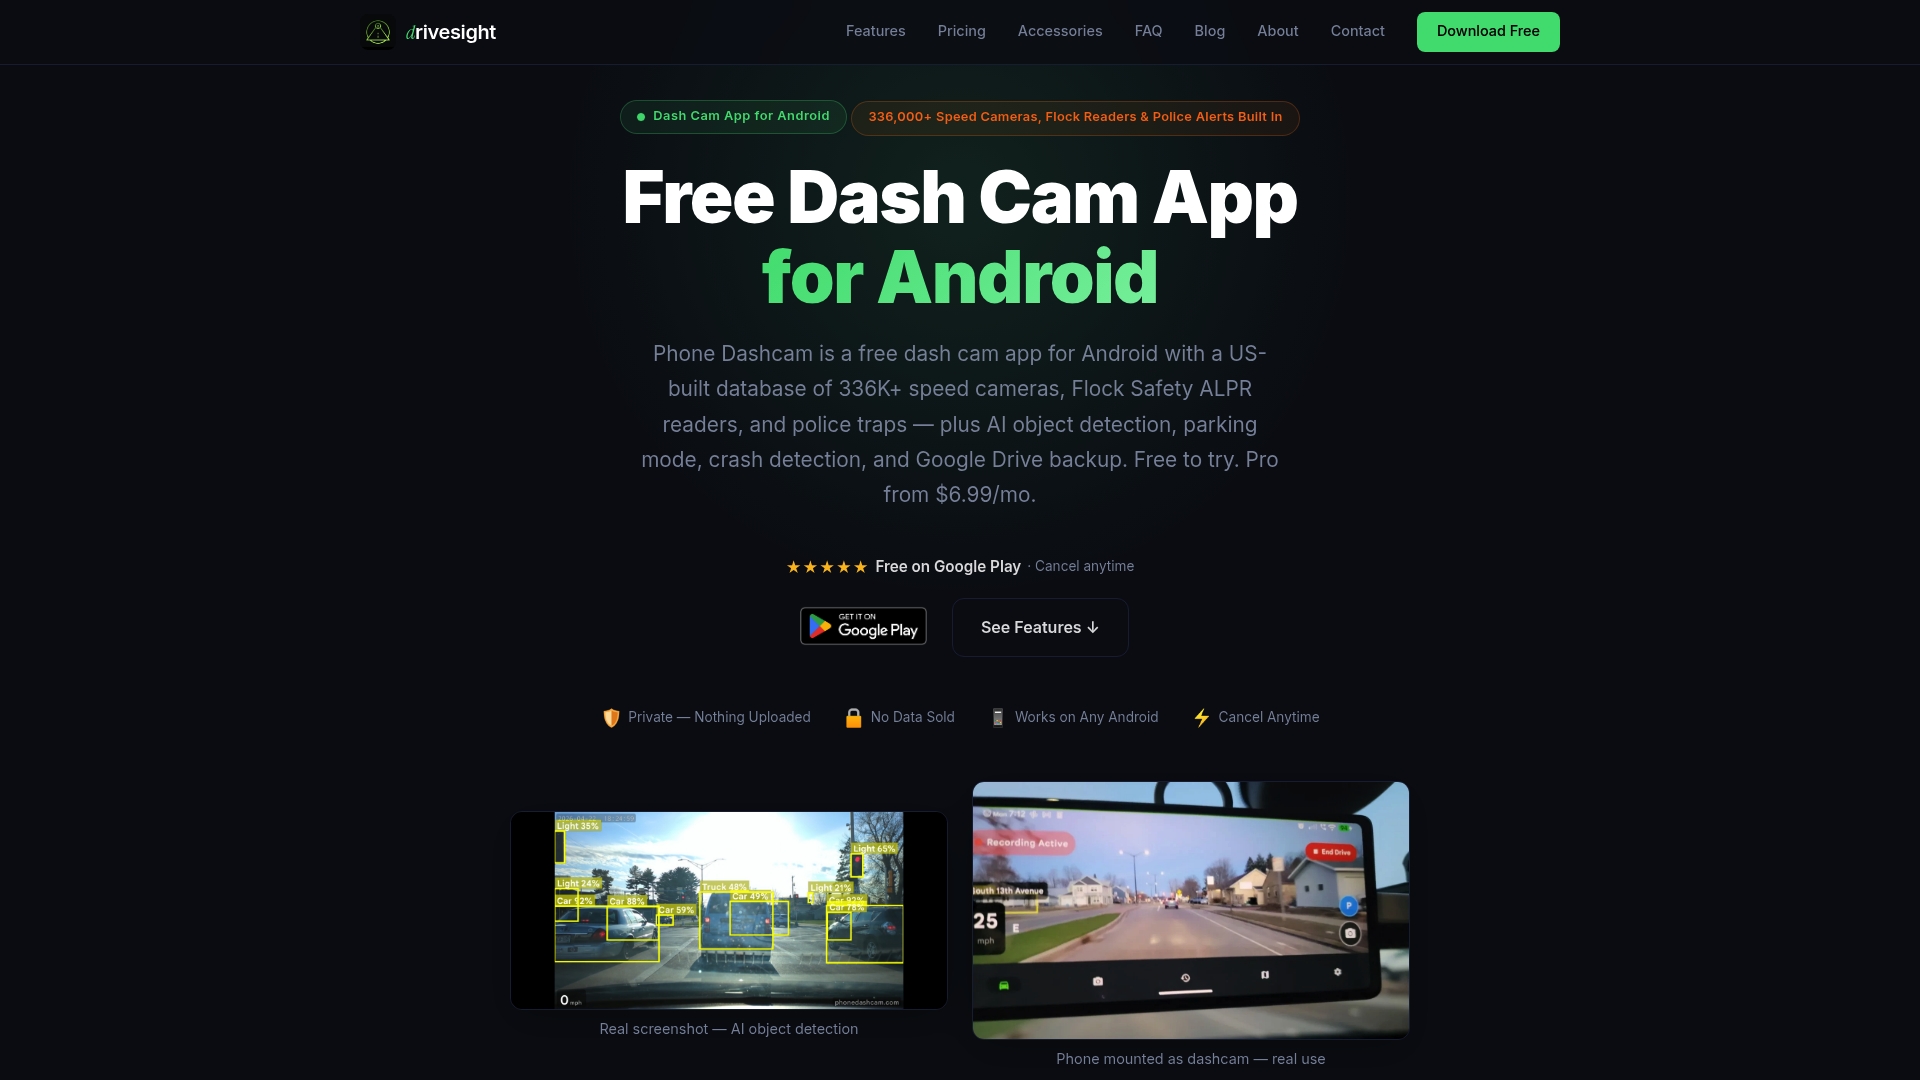
Power management is handled through the app’s screen-dimming and battery optimization settings, letting an old Android phone monitor your vehicle for hours without overheating. Remote viewing through the Phone Dashcam viewer lets you check footage from anywhere. Cloud backup means your clips survive even if the phone is stolen. Download the app and explore the full 2026 feature set at phonedashcam.com.
FAQ
What does dashcam parking security mode do?
Parking security mode keeps your dashcam recording or on standby while your vehicle is parked, triggering video capture when motion or impact is detected. It provides evidence of hit-and-runs, vandalism, and theft attempts without requiring you to be present.
How do I activate parking mode on my dashcam?
Access your dashcam’s settings menu, locate the parking mode or parking guard option, select a recording method (motion, impact, or time-lapse), and set a voltage cutoff to protect your battery. A hardwire kit connected to a live fuse is required for the mode to stay active after the ignition turns off.
What voltage cutoff should I set for parking mode?
Set the cutoff to 12.0 volts for standard lead-acid batteries and 11.8 volts for AGM batteries. These thresholds protect your starter battery while giving the dashcam maximum operating time.
Why does my dashcam keep triggering false alerts in parking mode?
False triggers are almost always caused by G-sensor sensitivity set too high. Reduce sensitivity by one level rather than disabling the sensor, which preserves real impact detection while filtering out vibrations from passing vehicles and wind.
Can I use parking mode without hardwiring my dashcam?
You can use an external dashcam battery pack for wireless parking mode operation, but internal dashcam batteries only last 30 to 60 minutes. For protection beyond one hour, a hardwire kit or dedicated external battery is required.
Recommended
- How to enable dashcam parking mode for commuters
- Dashcam Parking Mode: How It Works on Android (2026 Guide)
- Phone Dashcam Remote Viewer
- Phone Dashcam Blog — Dashcam Guides, App Comparisons & Driving Tips
Get Phone Dashcam free
Loop recording, crash detection, GPS tracking, and AI object detection — all in your phone. No new hardware required.
Download Phone Dashcam